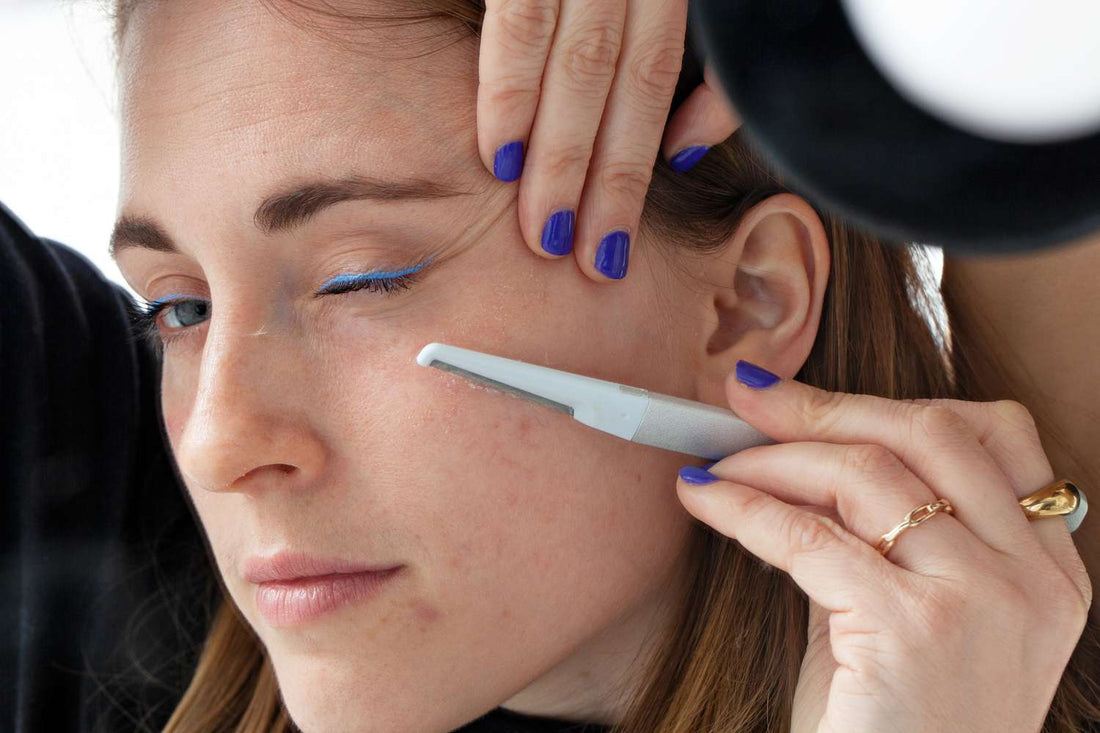
What is dermaplaning? You may have heard skin care gurus and specialists mention it in recent years as the popularity has grown. What started off as a professional-only procedure has evolved to an at-home treatment that may look scary, but is really quite easy and gives wonderful results.
Dermaplaning, in simple terms is shaving your face, BUT really, it is the ultimate exfoliation treatment; using a dermaplaning razor and light pressure, it removes dull, dry skin sitting on the surface while also giving the added benefit of removing vellus hair (peach fuzz). This process reveals fresh, healthy skin, making your face look brighter, evening out skin tone and smoothing fine lines. It also helps with product penetration, as your product doesn't have to work through layers of dead skin. Dermaplaning also makes for a flawless canvas for makeup application.
Dermaplaning can be done two ways - dry or with oil (or oil-planing). Oil-planing gives less friction, and is more gentle on the skin - making it perfect for those with a dry, sensitive or mature skin type. Avocado Oil, Almond Oil and Jojoba Oil are great derma-oils for their nutritional benefits and because they won't clog your pores! Those with an oily or normal skin type may prefer to use a dry method of dermaplaning where you simply glide the razor against clean skin.
Tip: If you're going in dry - put a light dusting of powder on before hand, it will help to highlight your peach fuzz, ensuring you don't miss a spot! We recommend using something TALC-FREE like our Pink Dusting Powder.
Shaving vellus hair will NOT cause it to grow back thicker or darker - that's a myth! It actually has no effect on hair growth. So dive in and try this beauty trick at home, yourself by following these steps!
Step 1: Cleanse the skin and make sure to dry the skin thoroughly.
Step 2: If using oil or powder, apply a light layer on the skin.
Step 3: Gently pull the skin so it is taut. This will ensure the blade glides easily over the skin.
Step 4: Working in sections, with a clean dermaplaning tool, hold the blade at a 45° angle against the skin and move in small, downward strokes. Only apply light pressure and avoid going over an area more than once to avoid irritation.
Step 5: You will see build up of skin cells and hair on the blade as you go; wipe regularly.
Step 6: Rinse with a gentle cleanser and continue your skin-care routine as normal. Your skin requires no downtime and is fresh and ready to accept those active ingredients! (Use of AHAs can lead to irritation as they are another form of exfoliation; avoid applying for following 48 hours)
Step 7: Clean your dermaplaning tool with alcohol and allow to dry between uses.
You can repeat this process every 1-3 weeks depending on your skins reaction. Dermaplaning is safe to do yourself, but those with active acne, eczema or rosacea flares should avoid it until the flare has subsided; bacteria from acne lesions can be spread by the blade. You should never feel discomfort or pain when gliding the tool along the skin - if you experience this, apply less pressure (or try using an oil!)
Want to try dermaplaning at home? Check our our Dermaplaning Facial Kit, which comes with a variety of blade sizes, making it very beginner-friendly when it comes to trickier areas (like the nose). Available HERE.
Check out our FACEBOOK PAGE for a video tutorial on how to dermaplane at home with Erica later today!


1 comment
Thank you for sharing such a nice blog! keep posting